Pages

Monday, August 25, 2014

Small town Fun

What I like to call " out in the boonies" movies have always caught my eye. Ones like Sweet Home Alambma or Doc Hollywood. The reason they catch my eye is the small town fairs or festivals the movie portrays.
Our little town of 800 has one such festival celebrating the Bean. Yup you heard right, the bean. For the past 49 years our town has put on the Bean Festival. Now I've taken this festival and all it has to offer for granted until this year and decided to look at it thru fresh eyes and I can tell you I truly had a wonderful time.
Friday night begins with a classic car cruise night and fireworks display. We didn't count but I heard over 200 cars participated, and the fireworks were quite impressive!


Our morning began bright and early! Living close to the action we can hear set- up begin around 6:30 am . The streets are closed and turned into a market where I purchased a couple of things.


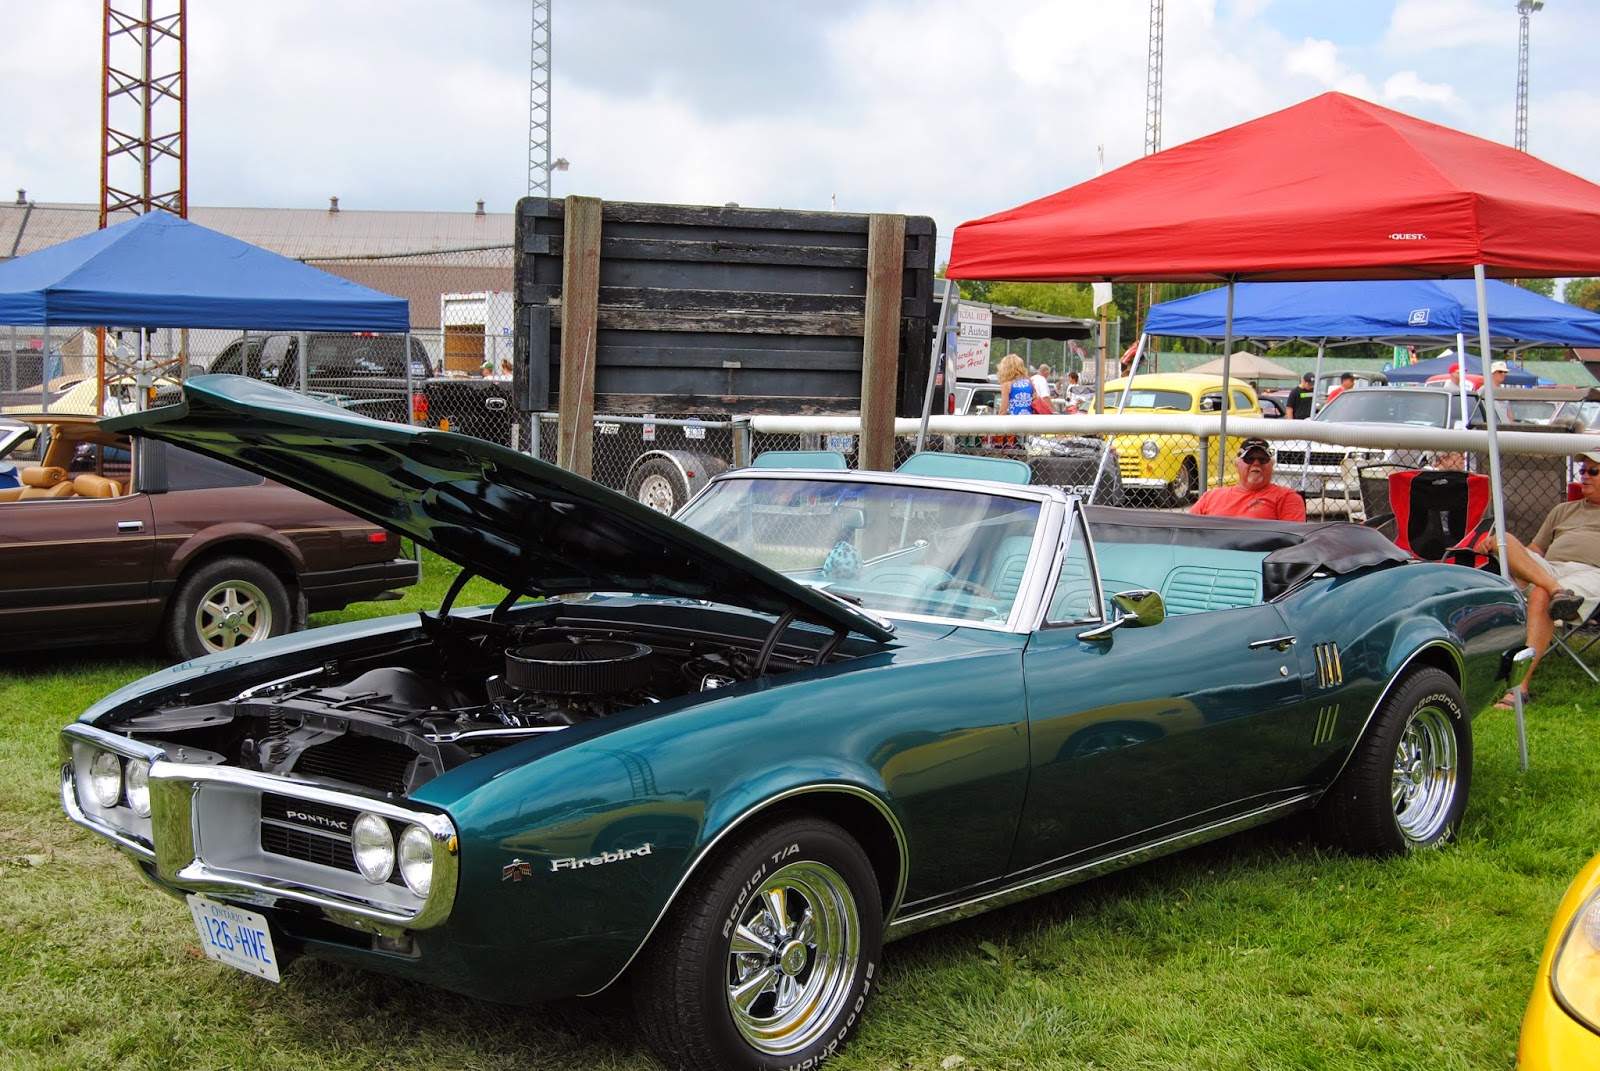
The car show is the second largest in Ontario. I found myself being drawn to the classics where as Roger can't resist the muscle car.


 We both agreed on this 1965 pick-up.


We think something like this would be perfect to pull our 1965 trailer. Its on our one day when we when the lottery wish list.

I leave you with a festival/ fair favourite of mine. The Kettle Corn Recipe I tried this easy make any time recipie and it was pure deliousousness. :)

Saturday, August 16, 2014

A little R and R

With a to do list longer then my arm and possible my leg we took five days and went to what has to be my most favourite place on earth, Inverhuron Provincial Park. Now I realize it's not Paris with its Eiffel Tower or the meadows of New Zealand but when I'm relaxing by the fire, down at the lake, or hiking the trails it feels just right.


Did I do any knitting or crocheting? I took it but it stayed in the bag and instead I read a real live book. Not a book on my iPad but one with pages.
You also maybe wondering how the old girl held up. She went through a storm and never even batted an eye. 


Although she did reveal some new secrets that need attending too she's most definitely a keeper. :)


Tuesday, August 5, 2014

Summer and a Rag Rug.

The dogs days of summer. We really aren't having those days and for someone who likes the heat, I'm actually surprising myself and liking these cooler days and nights. I'm also realizing that summer is not my favourite season. Oh sure I love fresh veggies from my garden that only summer can bring on as well as the lushness of the trees but I'm finding myself a little excited that the nights are getting shorter.
In trying to reason out all of this in my head and I think it comes down to the fact that I miss doing handicrafts at night. The hours of daylight kept us outside till 9:30pm and from there we went straight to bed. (yup we know, we're old.)
So this past weekend we got to use the Avion on its maiden voyage and see what quirks it had. Its got a few but its seriously missing rugs and a few throw pillows among some other more major things but I can deal with those later.
A friend of mind had requested a tutorial on rug making so heres goes my best attempt to teach you without the aid of video.

Supplies needed.
1 giant crochet hook


Cotton Sheets( The amount will vary depending on the size of the rug you want to make. With this rug I've ripped up four so far; one set of double sheets and one set of single sheets. I've also sprinkled in other pieces I've had laying around for contrast colour. This is also a good time to use up scraps or sheets that are stained.


First thing rip or cut your fabric of choice into 2 inch ( 5cm ) widths. I've gone smaller but I'm not happy with the results. This width gives you a nice thick rug.


The knot. Heres where I'm hoping pictures are enough.(please ignore my gardening fingernails lol)

First lay two end pieces end to end over each other. Next cut through both so you have a button hole size slit. Take one end and pull through the hole. Pull till you've created a nice tight knot. Now continue to making knots then wrap them up into a ball.


Once you've got a good size ball (and I mean good size) you can start to crochet.

                   With your ball, chain the desired length you want your rug to be.

Now here's where I do things a little differently from some I've seen. I use a slipstitch  instead of a single crochet.


 I like the look better and its a tighter stitch too which is what I want for rug making. Makes standing up to washing much better too.

So gather up your supplies and crochet along with me and hopefully by the end of this week I can show you how to finish off your lovely creations. :)

Wednesday, July 30, 2014

Jumping the gun.

I was going to wait to show you buuuttt.... I'm just going to show you. Our new couch in the trailer!


I bought most of the fabric two years ago and the navy blue I found at a thrift store for around 10$ for 5 yds. Can't stop me from mixing and matching!


There's still trim and some other things to work out but for now I've got myself a comfy couch. :)

Tuesday, July 22, 2014

When it's time to think twice about buying Vintage.

Last night I think we tackled the most disgusting part of our trailer...the sewer system. I hosed and scrubbed the toilet we had removed while my darling husband lay underneath the trailer removing old leaky sewer parts.
 I think people have this romantic notion that they're going to find a vintage trailer, paint and decorate it and it will be the tralier of their dreams like they see on Pinterest. I can guarantee that those people spent many, many hours getting it to look that way.


 Not to dash those dreams for anyone, but I'm not having any romantic feelings towards this trailer, especially after last night. It's been a lot of hard work mentally( two days spent figuring out wiring, water still hasn't been figured out) and physically (lifting things in and out to make sure they fit). After all, my trailer is almost 50 years old. It's going to have issues, as any vintage trailer would.
So buyer beware! That cute 1965 classic trailer is going to take away your time and money and as long as you know that, carry on dreaming. :)

Wednesday, July 16, 2014

How to Make Super Duper easy Blinds.

The other day you caught a glimpse of the blinds now hanging in my trailer. These have been my blind of choice for years for one simple reason.... No Strings. Don't get me wrong I love the look of Roman Blinds but not a fan of the drawstrings. I don't like having them hang there when the blinds are open, or having to add a hook to keep them it out of the way. I also don't like how alluring strings are for little ones to play with, or maybe I'm just a hater of strings,lol. But I most definitely don't want strings hanging all over in my trailer.


So here we go. First measure your window making sure that your finished blind will cover your window frame, side to side and top to bottom. Now your going to add seam allowances to that measurement on the bottom and side seams. I usual add 1/2 inch (1.5 cm) to each seam measurement. To the top your going to add about 2 extra inches (5cm)

If you notice, I forgot to add the 2 inches so I needed to add to it. It was a slap to forehead moment.


Here is where having second hand sheets comes in handy. They are the fabric on the reverse side.


And I also used the sheets for the ties. They are cut according to how much hang you want to your blind.


Now sew this together to make a pillow case type affair, and iron the whole thing flat. 
Also now it the time to make your ties. Fold them in half length wise and sew, turn and iron. Tuck in one end of each tie, iron and sew/topstich. This time around I added buttons and buttonholes but I've also made the ties to just tie up or I've just sewed it into a loop. Make sure the ties are evenly spaced from the ends or your blind.
Now you need to slip the dowel between the two fabrics to the bottom of your blind. This will be used to help you roll them up. You'll see that its cut slightly shorter then the blind.


This gives you a better look at how the ties are laid out.


Now you need a piece of wood for the top cut just shy of your blind as a way to hang and staple.


Now screw to just above your window. We put a screw in the middle and one on each end.


And ta-da! :)


Supply List

Coordinating fabric
Buttons (optional)
5/8 Dowel
1x1 wood
Stapler, staples
Screws (depending on what your screwing into)
Drill to use as a screwgun (easiest method)


Monday, July 7, 2014

Eeeekkkk!!!

You know when you're doing something that just drags on forever and finally there is a what I like to call an eeekkkk moment. It's that moment where you can finally see a light flickering at the end of the tunnel. That eeekkkk moment came this weekend for me.

New floor!!!!!


New back splash!!!! This was leftovers from our kitchen ceiling.


New counter and fridge surround!!!!!


Shhh.....I know, I know there is a long list of things that need doing yet, but for now you'll have to excuse me while I lay on my new floor. Eeekkkk!!! :)